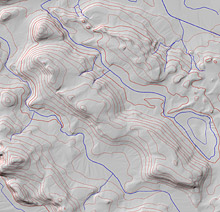
The cartographer has to selectively adjust light direction and brightness of important landforms when producing shaded relief. For shading derived from a DEM, necessary local adjustments are achievable by two different methods:
Photoshop allows for the selective correction of grey values or to combine multiple shaded relief images created with differing illumination direction. This is a rather tedious, but currently the only viable method.
An alternative is the use of software specifically designed to apply local adaptations to a shaded relief as shown below.
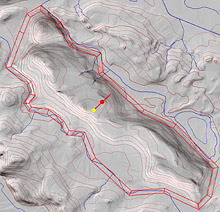
Local adjustment of the light direction. Left: A mountain ridge illuminated from the northwest. Right: A fence containing locally adjusted illumination from the southwest.
The images below compare a manual shading with an analytical shading that employs locally adjusted light direction and brightness parameters.
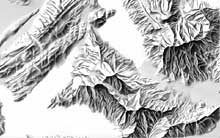
Manual shading.
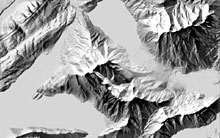
Analytical shading with local adjustments.